Introduction
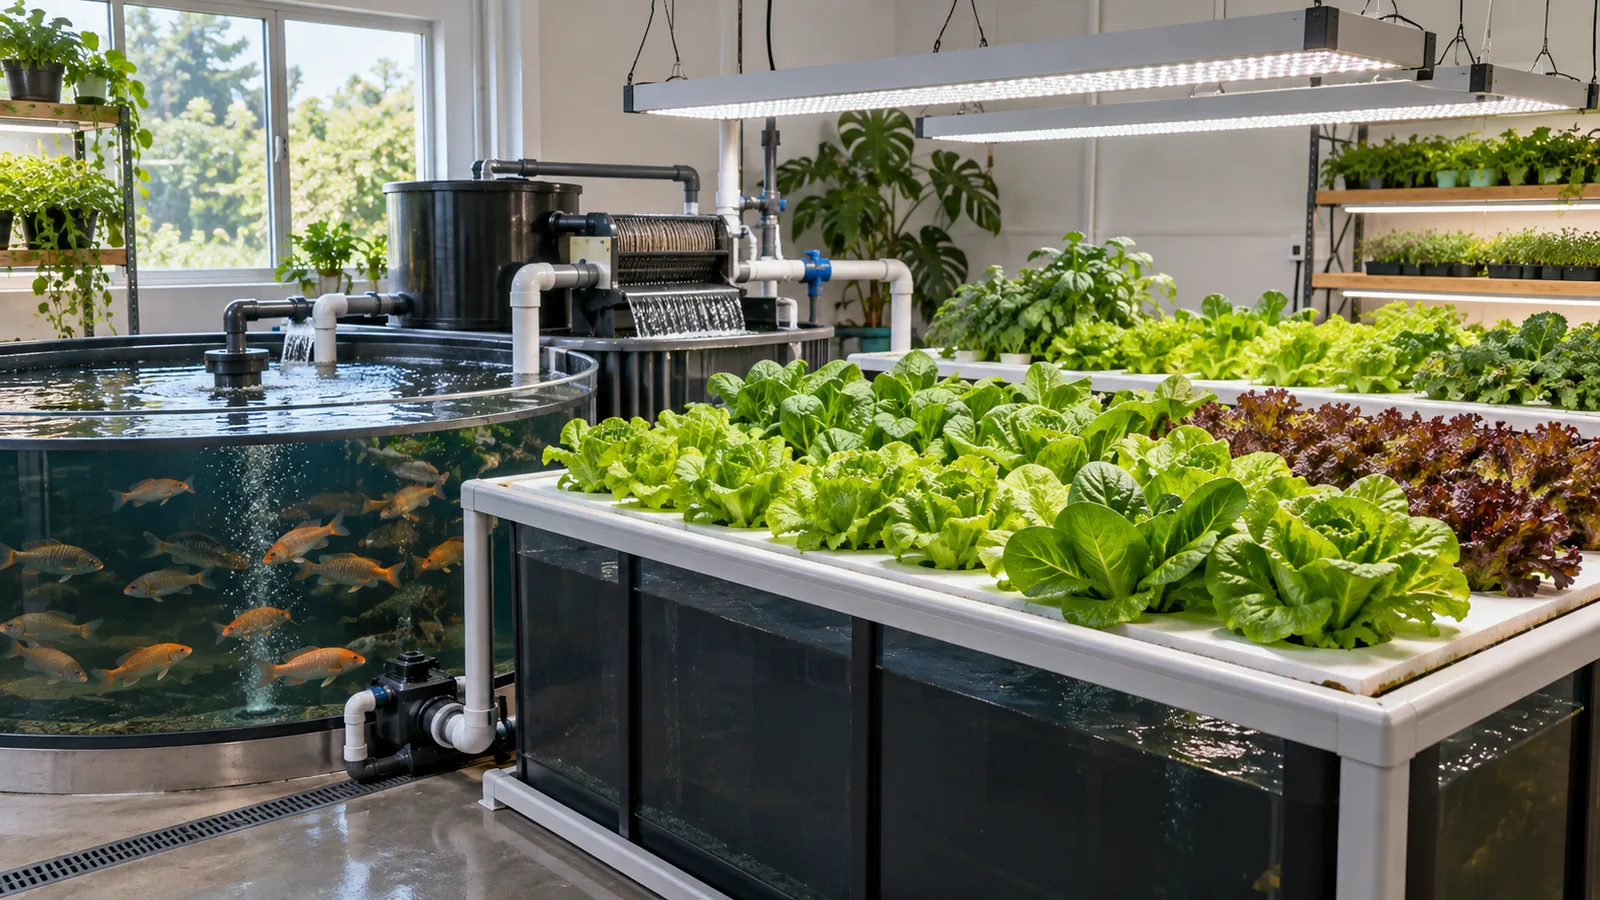
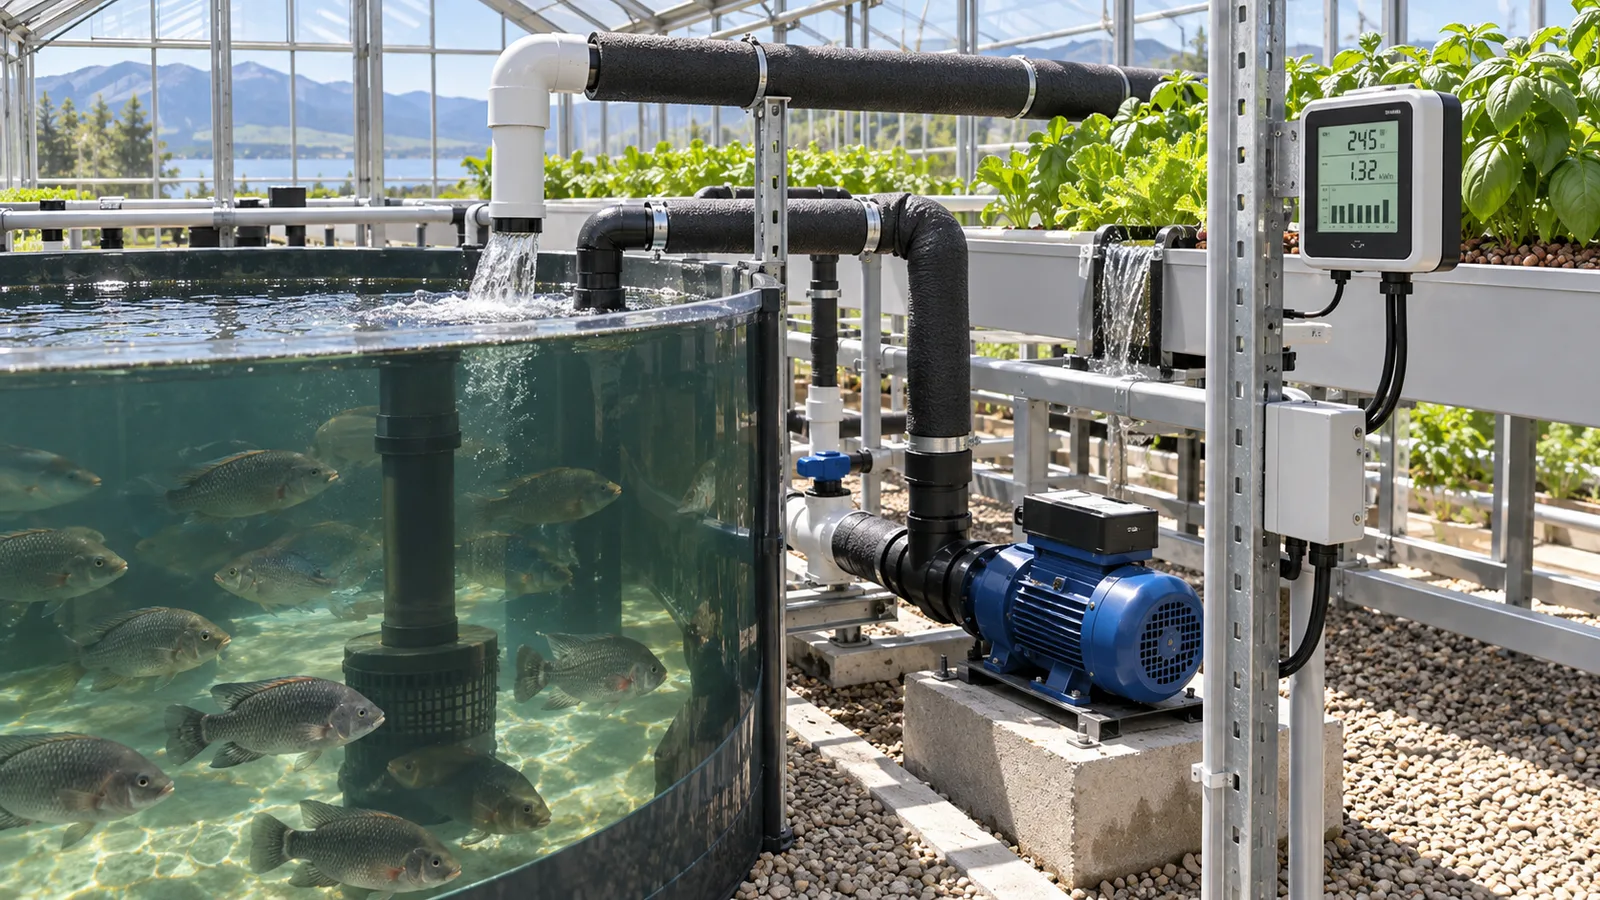
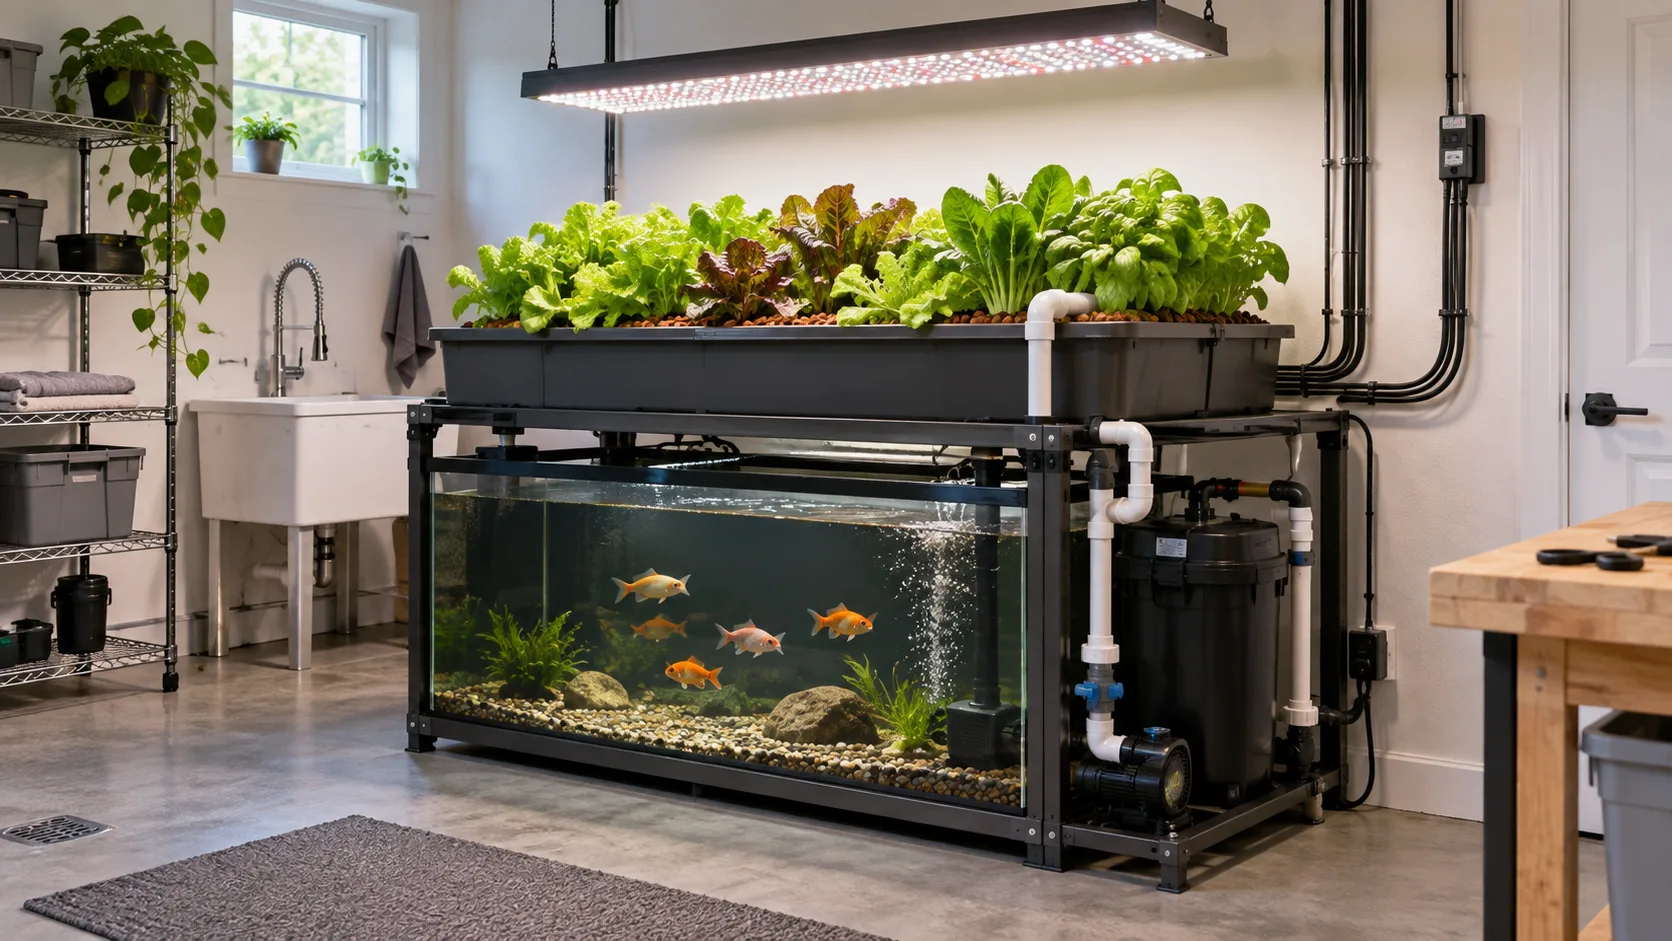
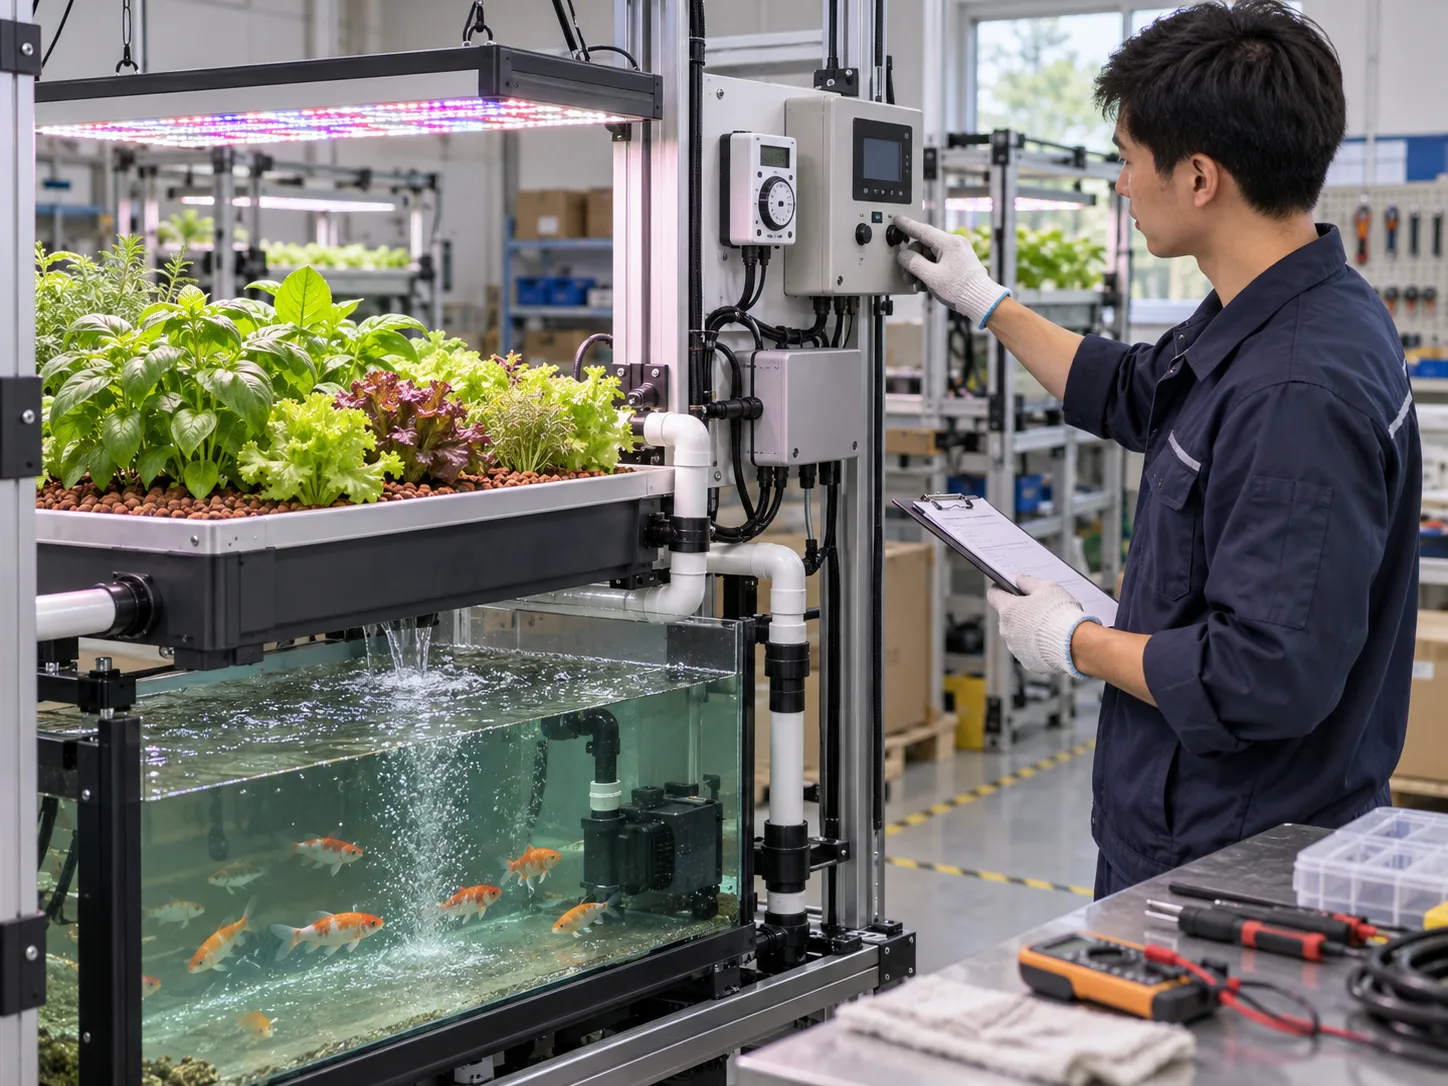
An indoor aquaponics system with integrated LED grow lights can make a compact installation easier to specify: the tank, filtration, grow surface, frame, fixture, timer and cable management are considered together. But “integrated light” does not automatically mean adequate plant light, safe electrical design or low energy use. The buyer still needs to check what area the fixture actually covers, how heat is managed, whether height is adjustable, how water is kept away from electrical connections and whether the plants can be serviced without moving a lamp.
This guide evaluates integrated LED systems as a product and installation decision. It does not repeat the separate question of whether DWC, NFT or media beds are best for indoor leafy greens. The focus here is the relationship between the fixture and the physical indoor aquaponics package.
The short answer
Choose an integrated LED aquaponics system when the lamp coverage, mounting height, timer, heat path, electrical rating, cable routing and access for feeding, cleaning and harvesting are documented for the intended plant area. Ask for a lighting plan rather than a wattage headline alone. A compact countertop unit may suit herbs and observation; a larger indoor project needs measured coverage, safe power distribution, ventilation and realistic operating-cost assumptions.
Begin with crops and usable growing area
Define which crops will be grown, how many plant positions are truly usable and how tall plants may become before they reach the fixture. Leafy greens and herbs are different from fruiting crops in canopy height, crop duration and light demand. An integrated fixture should be selected around the intended crop rather than a marketing image of mature plants placed under any lamp.
Request fixture model, stated power draw, mounting height range, light distribution data where available, recommended coverage area, timer functions, dimming, expected replacement method and electrical input. “Full spectrum” can describe a light appearance; it is not by itself a coverage plan. A high-watt fixture mounted too high may waste light outside the bed. A low-output fixture mounted too close may leave poor coverage or create excessive canopy heat.
South Dakota’s published modular indoor aquaponics system plans show that indoor packages need to account for lights, water and service layout together. Use it as a project-planning example, not as a universal specification.
Check the physical integration
Fixture position and adjustability
The fixture should cover the actual grow-bed footprint, not the whole room. Check how it is mounted, whether height can be adjusted as crops grow, whether the frame remains stable when a lamp is moved and whether the fixture blocks access to net pots, media, rafts or plant roots. A removable fixture can simplify maintenance but needs a secure reconnection method.
Water, condensation and electricity
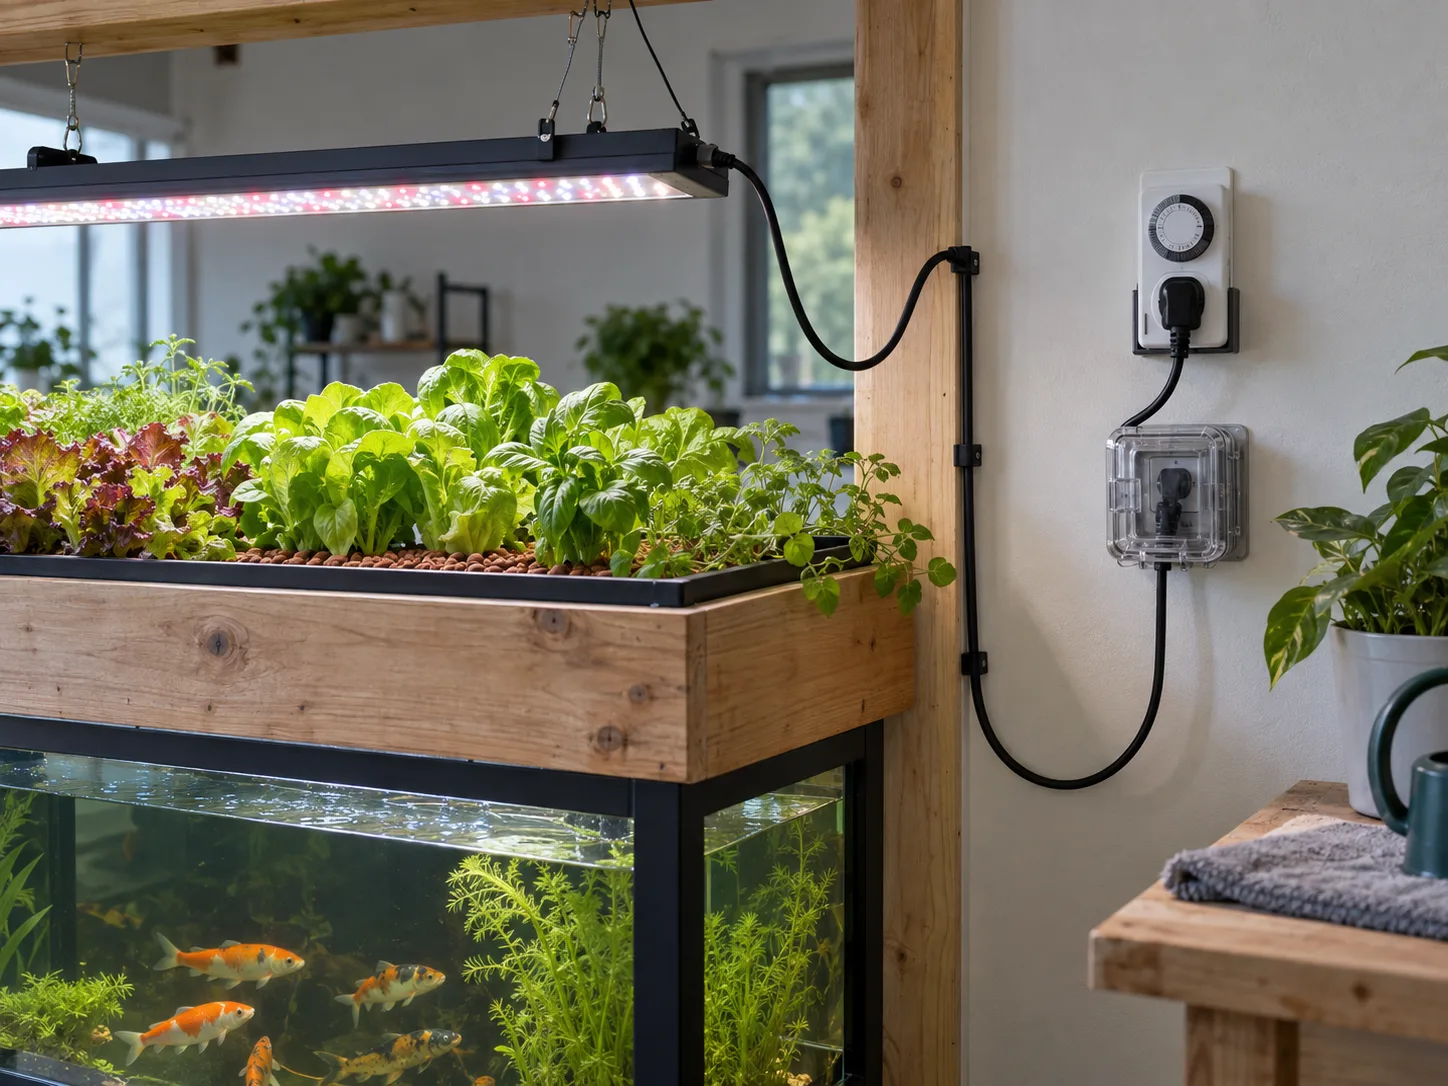
LED fixtures operate near humid plants and open water. Specify protected power outlets, appropriate electrical protection, drip loops, strain relief, cable routing outside splash zones, accessible switches and a safe way to isolate power before cleaning. Never route a power strip below a tank drain or where a slow leak can reach it. Ensure that a failed light does not require stopping fish aeration or circulation to replace it.
Heat and ventilation
LEDs are efficient compared with older lighting types, but their driver and fixture still release heat. In a small enclosed room, heat can affect canopy temperature, evaporation, water temperature and fish comfort. Review ambient temperature, tank insulation, fixture clearance, ventilation route and whether the light is dimmable or scheduled around room occupancy. Do not solve a lighting issue by adding heat to the water without checking the complete climate balance.
Controls that make indoor operation manageable
An integrated timer should support a consistent lighting schedule and be accessible without reaching over water. Confirm whether the timer retains settings after a power interruption, whether it controls only the light or also switches circulation equipment, and whether manual override is possible. Fish circulation and aeration are normally critical functions; they should not be casually tied to a plant-light timer.
For B2B packages, request a wiring diagram that names the lamp circuit, pump circuit, air circuit, protection device and local electrical connection. During factory testing, verify fixture mounting, cable labels, timer operation, lamp switching and safe access. At shipment inspection, confirm the fixture, mounting hardware, drivers, timers, plugs, manuals and replacement parts against the packing list. At final installation, check local voltage, plug type and protective devices before energizing the system.
Evaluate energy and ownership cost honestly
Lighting cost depends on actual input power, operating hours, electricity tariff, ambient heat and the plant area covered. Do not compare only a fixture’s maximum advertised wattage. Ask for the normal operating setting, scheduled hours, dimming range and driver efficiency where published. Separate the light load from pumps, aeration, heating, cooling and ventilation so the owner can see which part of the indoor system drives electricity use.
The U.S. Department of Energy explains general LED lighting considerations in its solid-state lighting resources. It is not an aquaponics design manual, but it supports the buyer habit of reviewing actual electrical performance and controls rather than relying on colour descriptions alone.
For a broader assessment of pump head, climate and measured loads, see our energy-efficient aquaponics design guide. It complements this article by examining the full operating system, not just the plant light.
Commission the light and crop zone together
Before plants fill the system, run the light at the intended height and operating schedule while observing heat, glare, reflections on the fish tank and access to the grow surface. Confirm that the fixture is mechanically secure, cables cannot rub on a sharp frame edge and water cannot collect near a driver, plug or timer. Check that the planned canopy is evenly served; a bright centre and weak edges may be acceptable for a small herb unit but not for a production bed advertised with every planting position.
Document the normal fixture height, timer schedule and dimming setting in the handover record. If the system has several lamps, label their circuits and keep one configuration photograph. This reduces avoidable errors when a worker replaces a fixture, changes a crop or cleans the grow bed. A light-control change should be recorded separately from a change in fish feed, water chemistry or pump schedule, otherwise performance trends cannot be interpreted honestly.
Heat, humidity and fish water
In a tightly enclosed room, lighting can contribute to a warmer and more humid environment even when the fixture itself feels only moderately warm. Monitor room and water temperature through the first operating weeks, especially after doors remain closed overnight or during seasonal weather changes. Do not use a light fixture as a water-heating strategy. If the fish species needs a controlled temperature, specify heating, ventilation, insulation and alarms as independent functions.
Condensation deserves the same attention. Provide airflow around drivers and electrical enclosures, route cables so drips fall away from plugs, and clean dust only with the equipment isolated. If a fixture is mounted above open water, confirm the supplier’s installation guidance and local electrical requirements rather than relying on a generic indoor-garden arrangement.
Compare complete packages line by line
An indoor kit may list an LED light but exclude the mounting frame, timer, protected outlet, replacement driver, grow media, plant supports, water-test tools or ventilation. Make a delivered-scope table with each item, quantity, electrical input, responsibility and exclusion. Include freight, installation, site electrical work and the local response to a failed fixture. A lower initial price may be sensible, but only after missing components and operating labour are visible.
During shipment inspection, count fixtures and mounting hardware separately from pumps and filtration. At site acceptance, verify that light controls do not unintentionally interrupt aeration or circulation, that the fixture can be serviced safely, and that the product application matches the crops and room described in the order. These are small checks that prevent an attractive indoor system from becoming difficult to operate.
Select by indoor application
Countertop and education systems
Priorities are quiet operation, splash protection, simple timer controls, modest herbs or greens, visual access to fish and easy cleaning. Avoid promising food independence from a very small grow surface. An integrated fixture can be helpful when it is mounted safely and its coverage is honest.
Home utility-room systems
Priorities include floor protection, drain route, ventilation, service clearance, accessible filter cleaning and a fixture that can be raised or removed. Plan the location of test kits, feed, spare parts and plant work so none of them block electrical isolation or emergency access.
Commercial demonstration and restaurant systems
Priorities can include presentation, crop consistency, service continuity, food-handling requirements, control documentation and spare light strategy. A visually attractive lamp arrangement must still leave a route for maintenance. Document lamp replacement lead time and whether a failed fixture can be replaced without disturbing crops or fish.
A pre-purchase checklist
Ask the supplier:
1. What crop area and mounting height does the supplied fixture cover?
2. What is the fixture’s normal input power and timer/dimming arrangement?
3. Which circuits serve lighting, pumping and aeration separately?
4. How are cables, drivers and plugs protected from splash and condensation?
5. What ventilation and room-temperature assumptions were used?
6. Can the fixture be raised, removed and replaced with crops in place?
7. Which lamp, driver, timer and mounting spares should be supplied?
8. What will be demonstrated during factory testing and checked at shipment inspection?
Pair the answers with our guide to indoor aquaponics systems for leafy greens when choosing the actual grow method. Lighting should support the chosen crop zone, not dictate it.
FAQ
Does an integrated LED fixture mean plants can grow anywhere indoors?
No. Crop area, mounting height, duration, heat, airflow and maintenance still determine performance. Verify fixture coverage against the usable plant zone.
Should the pump turn off when the lights turn off?
Usually not as a default. Circulation and aeration requirements depend on the fish and system design. Keep critical life-support functions separate from plant-light schedules unless the design explicitly supports another arrangement.
What should be checked before shipment?
Confirm fixture model, mounting brackets, driver, timer, electrical input, plug type, cable labels, hardware, manuals and spare items. Record the agreed factory test.
Conclusion
Integrated LED grow lights can make an indoor aquaponics package cleaner and easier to use when they are specified as part of the water, crop, heat and electrical plan. Select coverage and controls first, then confirm safe installation and service access before delivery.
CTA — Need an indoor system and lighting checklist? Ask for Product Catalog with your room dimensions, crops, local voltage and target growing area.