Introduction
To start aquaponics, begin with a clear purpose, a site you can service daily, a simple system you understand and a deliberate biological start-up plan. Do not begin by filling a tank with fish and adding plants on the same day. A new system needs time for its water treatment and biofilter to become stable, and every starter should have a routine for testing water, checking aeration and responding to problems.
This guide is for beginners, schools, small greenhouse teams and early-stage project planners. It is intentionally cautious: exact species, stocking, chemical treatment and electrical details depend on local law, climate, system design and qualified advice. It does not replace local aquaculture, electrical, food-safety or building requirements. For the basic concept, start with What Is Aquaponics?; for the water loop, see How Does an Aquaponics System Work?.
Step 1: Decide What You Are Starting—and Why
Write a one-page project brief before purchasing equipment. State whether the objective is learning, household food, school demonstration, restaurant display, research, community education or commercial production. A small system can teach water management and crop routines; it should not be used as automatic proof that a large commercial facility will have the same economics.
Then define the operator. Who will feed fish daily, test water, clean filters, record results and act if an alarm occurs? A system without a named operator is not ready to start. Schools should also plan weekend, holiday and handover responsibilities.
Step 2: Assess the Site Before Choosing a System
Water, electricity and drainage
Identify the water source and have it assessed for suitability. Municipal water may contain chlorine or chloramine; groundwater can have dissolved minerals or other characteristics that need attention. Never assume that clear-looking water is biologically suitable for fish. Plan how make-up water will be treated and where maintenance water can be handled lawfully.
Most systems depend on electricity for pumps and aeration. Confirm the local voltage, frequency, outlet protection, cable routing and who will perform final electrical work. Decide what happens during an outage. Even a small system benefits from a written response plan; a larger or more heavily stocked system may need alarms, emergency aeration or backup power appropriate to its risk.
Drainage is often missed. Allow a safe route for cleaning water, accidental overflow and filter maintenance. Keep electrical connections away from splash zones. Provide a level, accessible area with enough service clearance to reach the tank, pump, filters and grow beds.
Light and temperature
Plants need enough light; fish, plants and bacteria need compatible temperatures. A warm-water fish may not suit a cold room or a winter greenhouse without realistic climate control. A sunny location can still overheat water in summer. Record local seasonal conditions before choosing species or promising year-round production.
Step 3: Choose a Simple Growing Method
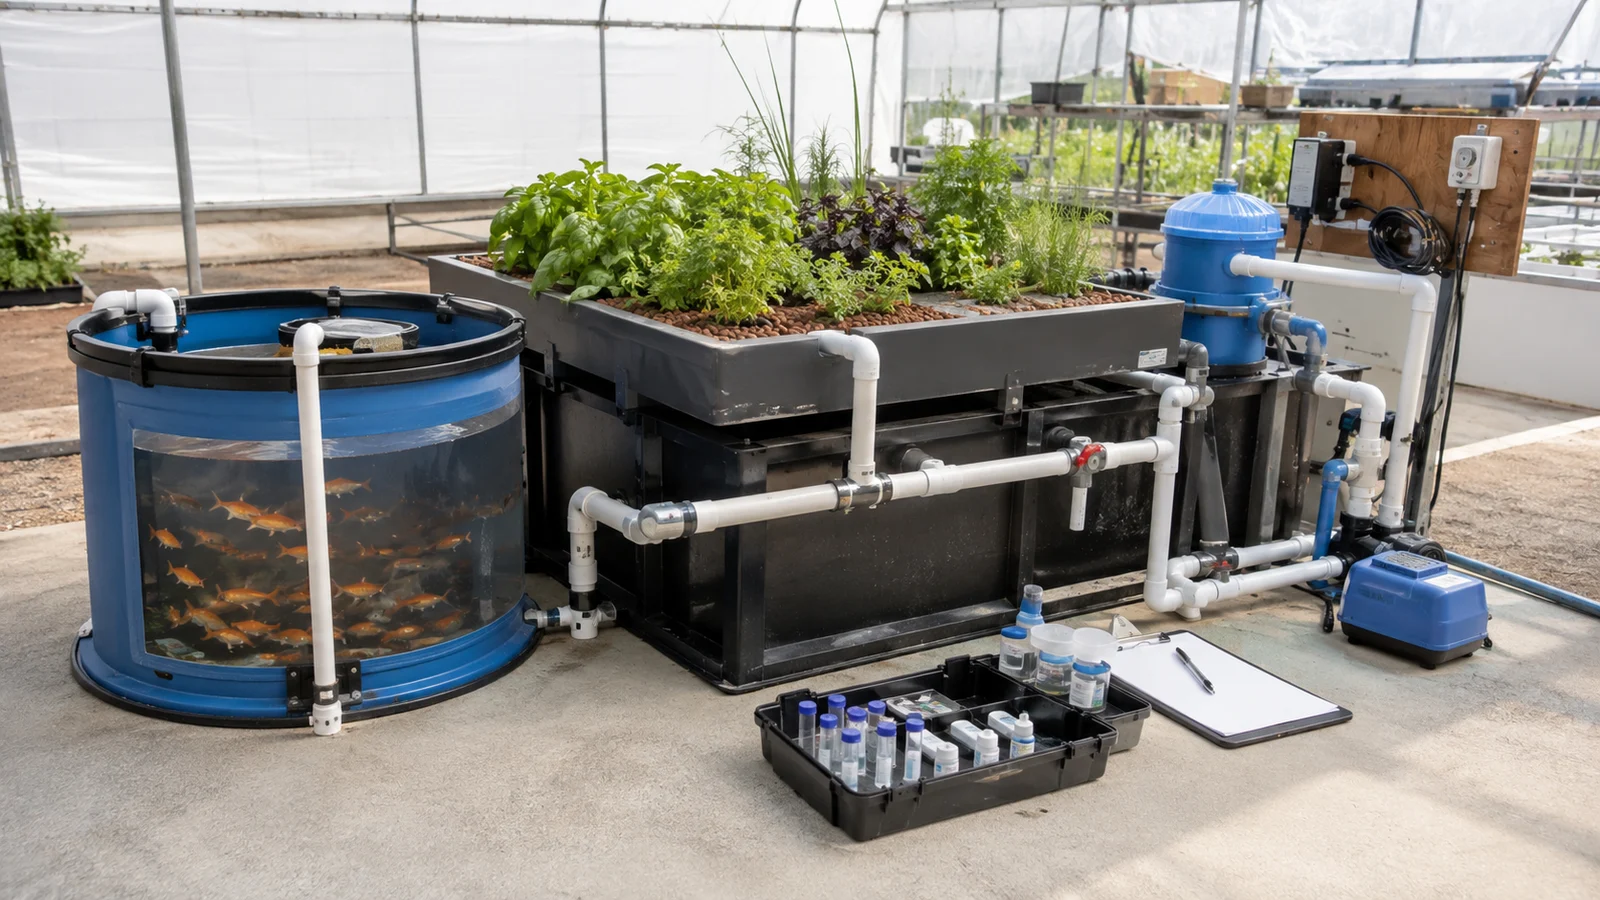
For a first system, choose the format you can inspect and clean. Media beds are often approachable because they support roots and can provide some filtration. DWC can be effective for leafy greens when aeration and solids removal are well managed. NFT is useful for some crops but is less forgiving of fine solids, root congestion and interruptions in flow.
Start with leafy greens or herbs that fit your climate and local market or learning goal. Do not start with a long list of high-demand fruiting crops; they can need greater nutrient management and physical support. Plant selection should follow the water temperature, light and operating capability you can actually maintain.
When buying equipment, request an itemized scope rather than a single “system price.” Ask for tank and grow-bed materials, pump and aeration specifications, electrical standard, filter arrangement, drawings, manual, spare-parts recommendation and exclusions. If the system will be exported, confirm the packing list, product labels and installation sequence before shipment. A pre-shipment inspection or factory functional check should be agreed in writing; it verifies only the items within the agreed acceptance scope, not final site performance.
University of Maryland Extension’s small-scale build guide is a useful independent checklist for the practical roles of the tank, grow media, biofilter, pump, water treatment, air supply and electricity. Use it to review the completeness of a starter layout, not as a substitute for a site-specific design.
Mid-article CTA — Get a Beginner System Checklist
Before you order, send YAFAN your available space, country, project purpose and intended crops. We can help you identify the site and equipment information needed for a more useful inquiry.
Step 4: Assemble, Test and Leak-Check the Physical System
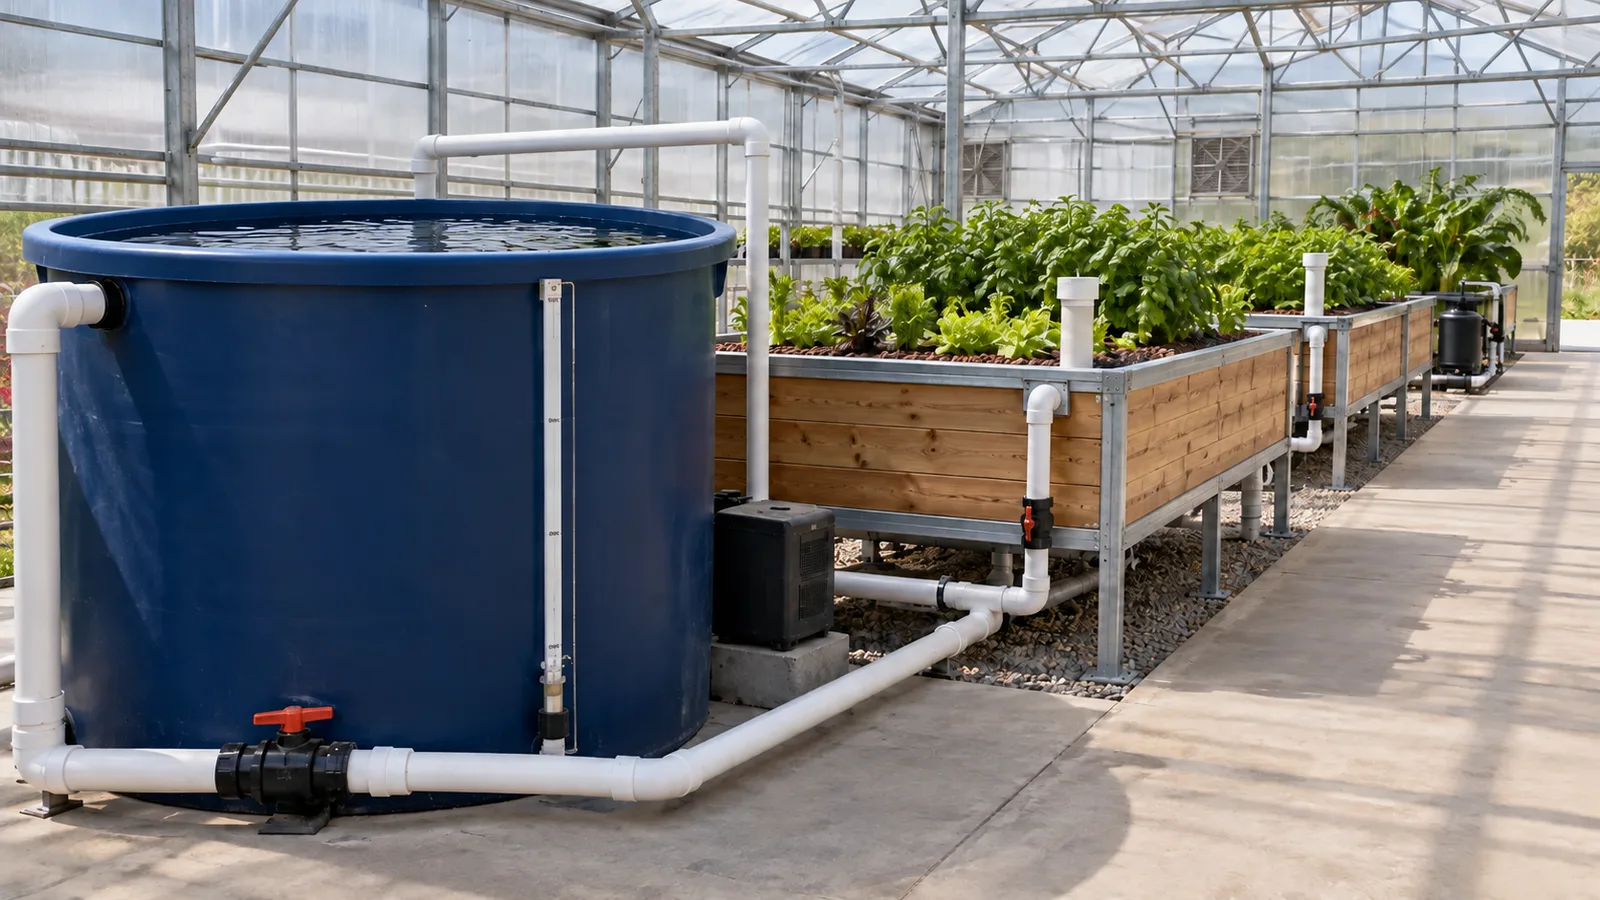
Follow the supplier’s layout or your approved plan. Place tanks and grow beds level; fit plumbing and valves; make sure every filter can be opened; position air diffusers; and label key valves and electrical switches. Do not hide a pump or union behind a wall, tank or bed that cannot later be moved.
Before adding biological stock, fill the system and test the water path. Check for leaks, overflowing sections, blocked returns, noisy pumps, poor aeration and inaccessible cleaning points. Verify that water returns where the drawing says it should. An on-site leak test is essential even when components were assembled or tested at the factory, because transport, site piping and local electrical work introduce new conditions.
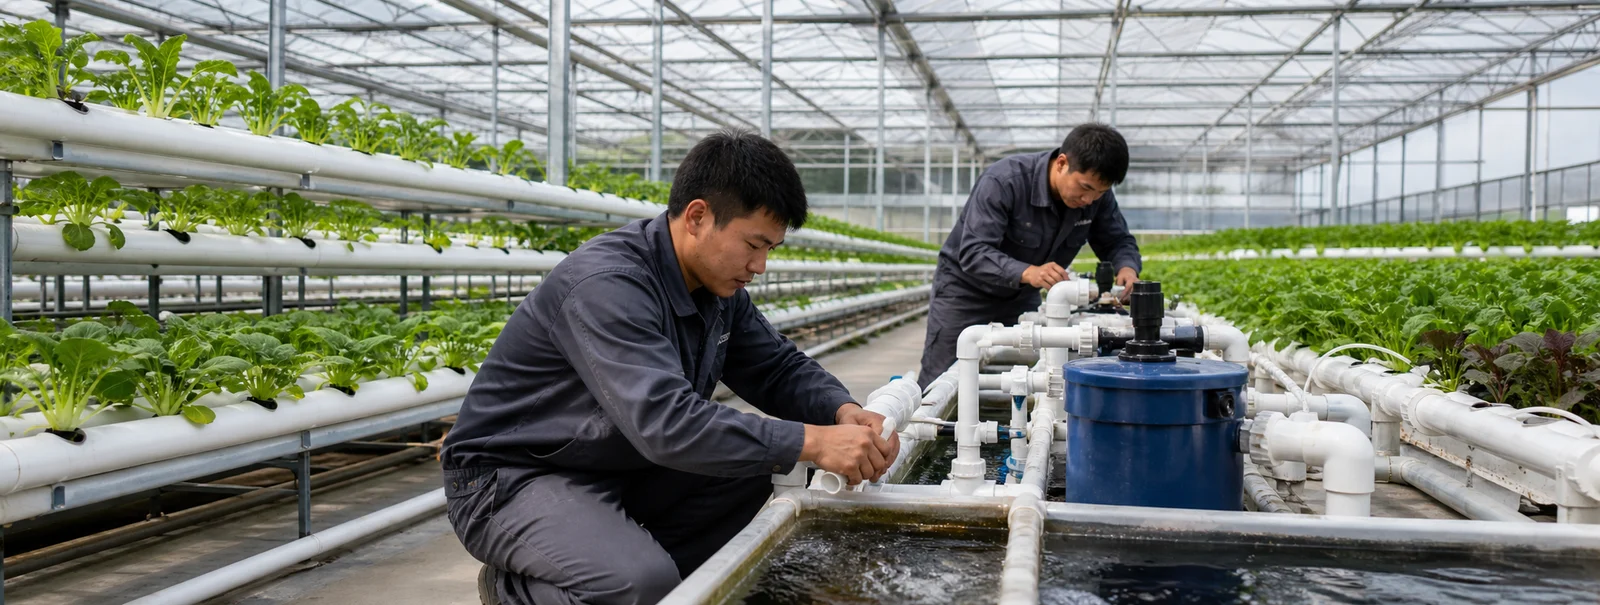
Take photographs of pipe routes, control settings and valve positions at handover. Keep the final packing list, equipment list, installation drawings and manuals together. These simple records become valuable when a team member changes or a replacement part is needed.
Step 5: Cycle the Biofilter Before Heavy Stocking
Cycling means establishing the nitrifying microorganisms that convert ammonia to nitrite and nitrate. This biological process takes time; temperature, pH, oxygen and the amount of ammonia available all affect it. The safest exact method depends on the system and should follow credible local technical guidance. Do not rush this phase to meet a calendar date.
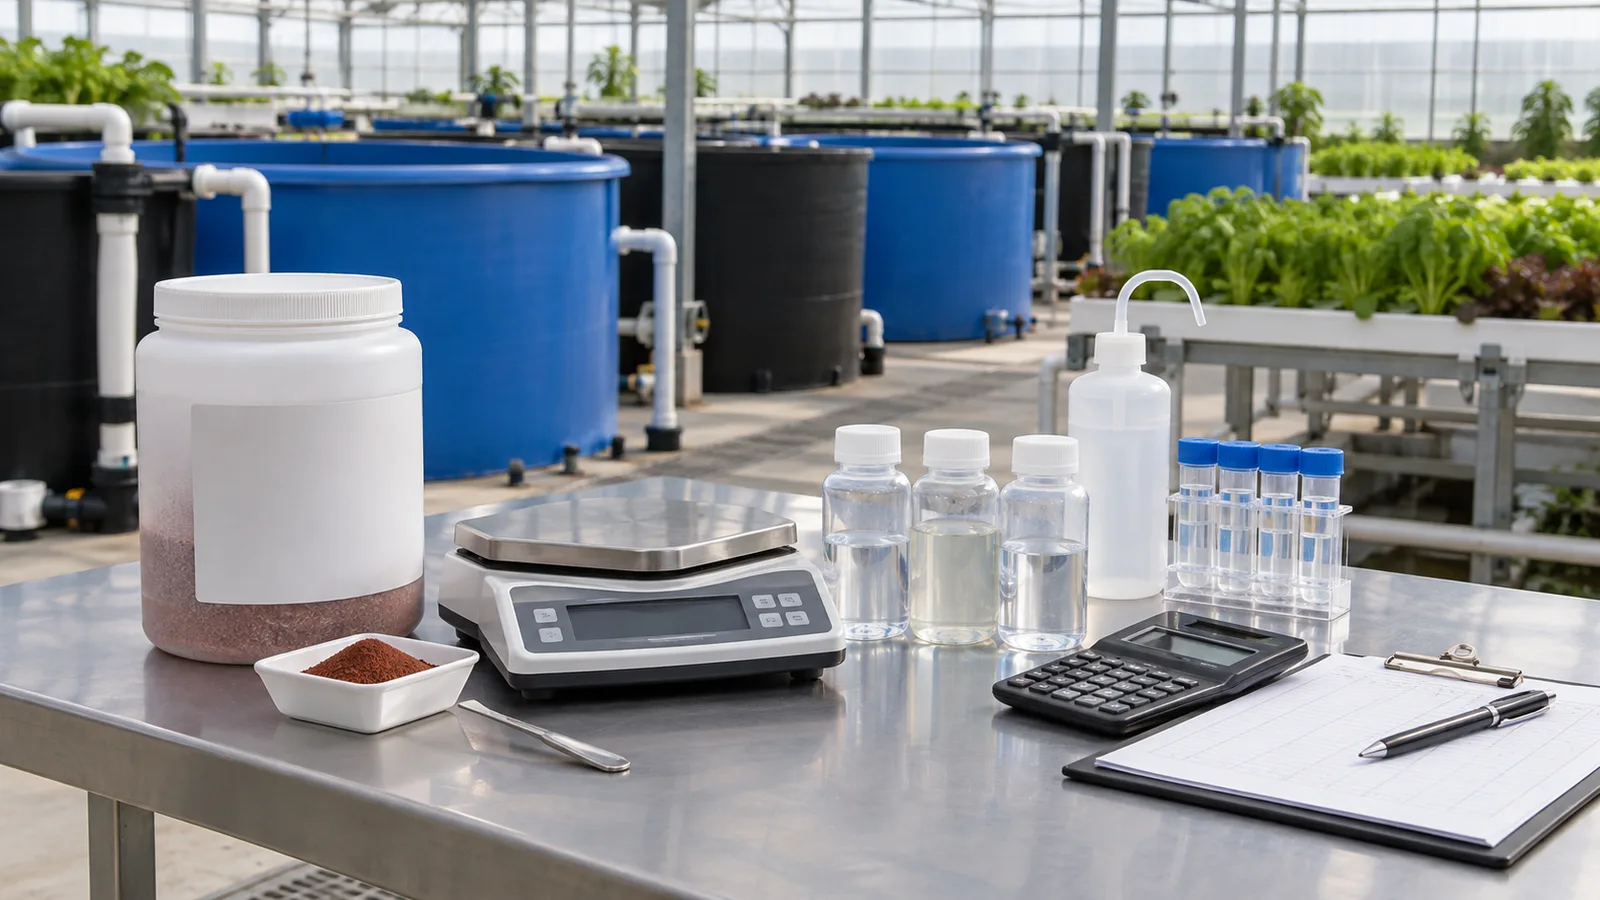
During cycling, measure water conditions consistently and record the results. As a general principle, avoid adding a full fish load to an unestablished biofilter. If fish are used in a start-up method, stocking and feeding should be especially conservative and guided by a qualified professional. A fishless cycling approach may be appropriate in some situations, but follow product instructions and local advice carefully rather than adding unverified materials to the water.
New Mexico State University’s water-quality guide for aquaponics identifies the core conditions that affect system health and productivity, including source-water considerations and routine recordkeeping. It is a stronger reference than social-media shortcuts when preparing a cycling and monitoring routine.
Step 6: Add Fish and Plants Gradually
Once physical testing and biofilter preparation are complete, introduce fish and plants gradually according to the system plan. Acclimate fish responsibly to water conditions and source them from lawful, reputable channels. Start with species that suit the expected water temperature and the team’s experience. Avoid treating a fish delivery as a “switch on” moment; keep observing behaviour and water measurements closely.
Add a manageable number of plants in a staggered pattern. This helps the operator learn planting, harvesting and cleaning routines while avoiding a single large harvest gap. Seedlings must be clean and healthy, and any crop-protection product must be evaluated for safety around fish and beneficial microorganisms.
Step 7: Make Daily Records a Habit
A simple log protects the system. Record date, water temperature, pH, nitrogen-test results, dissolved oxygen if measured, feeding quantity, fish behaviour, plant observations, maintenance, alarms and corrections. Record what changed before a reading changed: new feed, weather, a filter cleaning, a power interruption, added fish or a different water source.
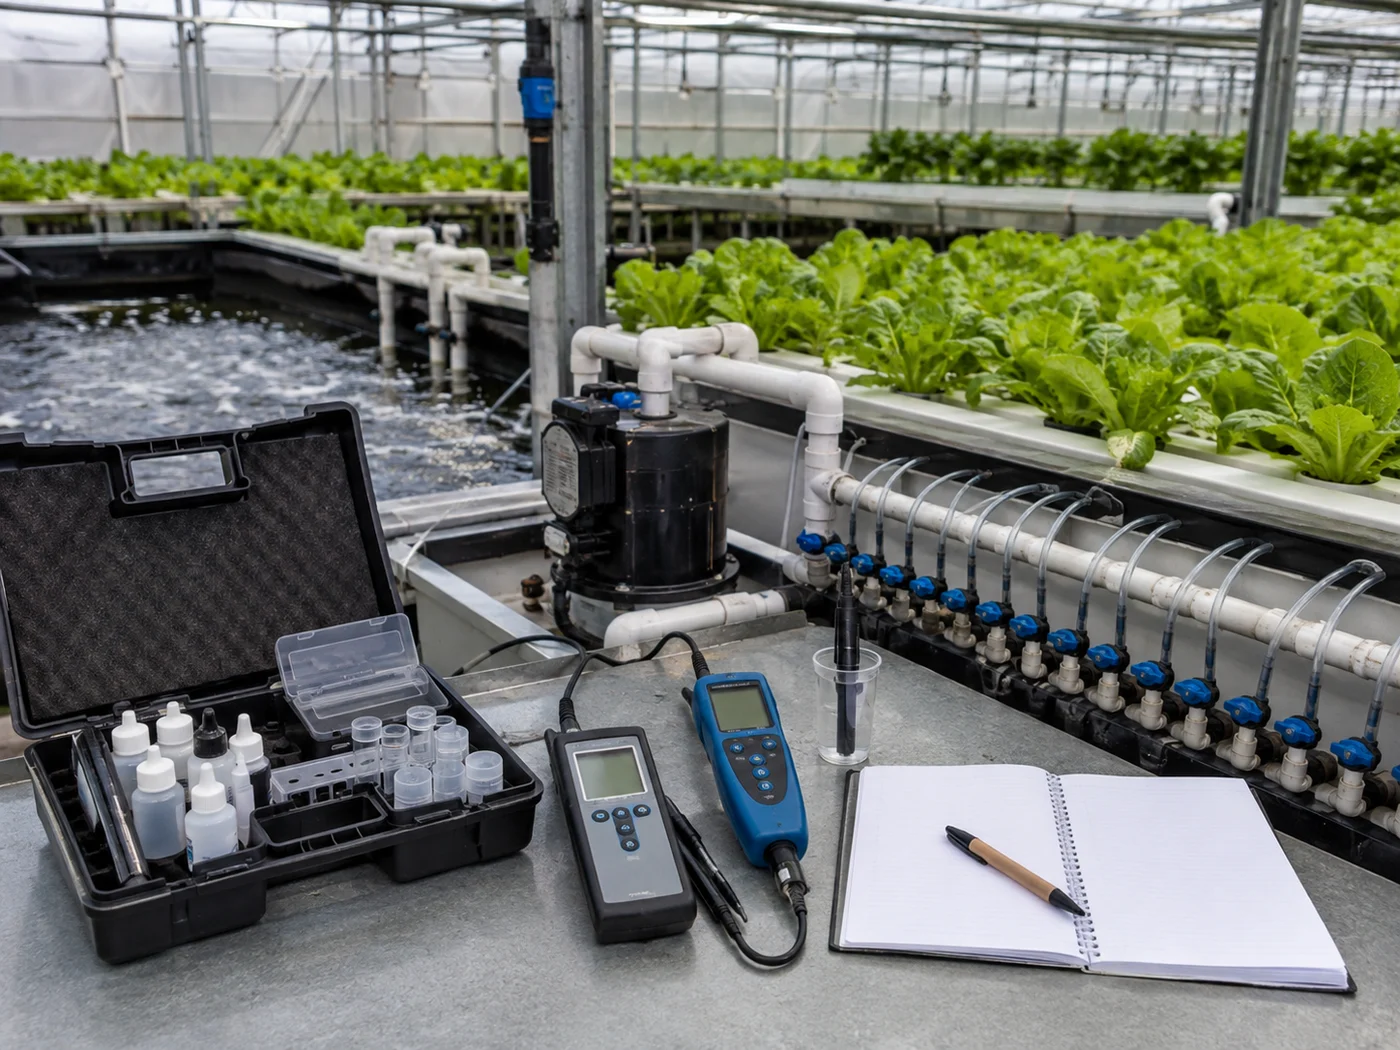
The goal is not to collect numbers for their own sake. It is to recognize normal performance for your particular system and respond early when it changes. Do not chase a number copied from another fish species, climate or design; use your final operating plan and qualified support to interpret readings.
Daily starter checklist
- Observe fish before and during feeding.
- Confirm pump flow and visible aeration.
- Check water level, leaks and overflow paths.
- Inspect filters and plant roots for accumulating solids.
- Record temperature and any required water tests.
- Look for wilt, pests, nutrient symptoms or unusual algae.
- Confirm that emergency contacts and essential spares remain accessible.
Common Beginner Mistakes
Starting too large
A large first installation magnifies every uncertainty: fish sourcing, water quality, climate control, labour and maintenance. Begin at a scale the operator can inspect without shortcuts. Commercial teams can still use a phased project plan, but the pilot’s scope and learning objectives should be documented.
Overfeeding or overstocking
Feed drives nutrient loading, solids and oxygen demand. More feed is not a shortcut to more plants. Use a conservative, documented plan and change it only when the system’s water quality and biofilter capacity support it.
Ignoring the water source
Source water can harm fish or disrupt biological performance. Test it and establish treatment before stocking. Do not rely only on a one-time visual inspection.
Treating a supplier quote as an operating manual
A quotation identifies supplied equipment; it does not substitute for a site-specific operating, safety or animal-health plan. Clarify which training, manuals, commissioning support and consumables are included.
No contingency plan
Write down who responds to a pump fault, a low-oxygen alert, an outage or a leak. Stock value and local power reliability determine the necessary level of backup, but every system needs a clear first response.
FAQ
What is the easiest aquaponics system to start with?
The best first system is one small enough to observe and clean, with equipment you understand and crops/species suited to the local environment. Media beds are commonly used by beginners, but suitability still depends on the system and operator.
How long does it take to start an aquaponics system?
Physical assembly may be quick, but site preparation, leak testing and biological cycling take additional time. The timeline varies with design, temperature, water chemistry and start-up method. Do not set the first fish stocking date before water-quality readiness is verified.
Can I start aquaponics indoors?
Yes, if you plan lighting, temperature, humidity, drainage, electrical safety, access and fish species carefully. Indoor space constraints and water damage risk should be assessed before installation.
What should I buy first?
Buy planning information first: a site checklist, water test plan, layout and equipment scope. Then confirm the tank, filtration, pump, aeration, grow method, testing equipment, plumbing and safety provisions appropriate to the design.
Conclusion
Starting aquaponics is a sequence, not a shopping list: define the purpose; assess water, power, drainage and climate; choose a manageable system; test the physical loop; establish the biofilter; then introduce living components gradually while keeping records. That order lowers avoidable risk and gives the operator time to learn what the system is saying.
Final CTA — Send Your Requirements
Whether you need a starter system, modular components or an early commercial-project discussion, contact YAFAN with your site dimensions, country, application and target crops.